 Blog
BlogRenovations are exciting—until you realise the dust has travelled places dust shouldn’t be able to reach. It’s on the windowsills, inside drawers you never opened, and somehow… in rooms that weren’t even renovated.
Post-renovation cleaning isn’t normal cleaning. The goal isn’t just “tidy.” It’s getting rid of fine construction dust, leftover debris, paint splatter, and that gritty film that makes your whole home feel unfinished.
This guide will walk you through the clean-up in the right order, with a realistic plan that keeps you from doing the same work twice.
What Makes Renovation Dust So Annoying?
Renovation dust is finer than regular household dust. It clings to:
-
walls and ceilings
-
window tracks and frames
-
skirting boards and doors
-
light fittings and fans
-
inside cupboards and wardrobes
-
floors (especially corners and edges)
And if you vacuum or wipe the wrong way, you’ll just send it airborne again.
Before You Start: Safety + Setup (10 Minutes That Saves Hours)
1) Airflow matters
-
Open windows where safe to do so
-
Turn on exhaust fans
-
If you have ducted heating/cooling, keep it off during heavy dusting (otherwise it can spread dust further)
2) Wear basic protection
-
A dust mask (especially if there’s plaster/sanding dust)
-
Gloves
-
Eye protection if you’re wiping high areas
3) Gather the right tools
You don’t need fancy products. You need the right methods.
Best tools for post-reno cleaning:
-
Microfibre cloths (lots of them)
-
Microfibre mop
-
Vacuum with good filtration (HEPA if available)
-
Soft brush attachment + crevice tool
-
Bucket with warm water
-
Mild multi-purpose cleaner
-
Sugar soap (helpful for walls with residue or grime)
-
Scraper (plastic is safest for paint drips)
-
Rubbish bags + a small container for screws/nails
Avoid: dry dusters and aggressive sweeping. They lift dust into the air and it resettles everywhere.
The Golden Rule: Clean Top to Bottom, Dry to Damp, Then Floors Last
If you do it in the wrong order, you’ll re-dust the same surfaces repeatedly.
Correct order:
-
Remove debris
-
Dry dust removal (vacuum high areas first)
-
Damp wipe surfaces
-
Detail areas (tracks, joins, handles)
-
Floors (vacuum, then mop)
-
Final polish and air-out
Step-by-Step: Post Renovation Cleaning That Actually Works
Step 1: Clear Debris + Loose Dust (30–60 mins)
-
Collect offcuts, tape, plastic, packaging
-
Bag up rubbish
-
Remove protective coverings carefully (so dust doesn’t puff up)
-
Do a quick vacuum of visible piles of dust before wiping anything
Tip: If there are nails/screws left behind, toss them into a jar immediately. You’ll thank yourself later.
Step 2: Vacuum High Surfaces First (Yes, vacuum!)
Use the soft brush attachment and start up high:
-
ceiling corners
-
cornices
-
tops of door frames
-
light fittings (when cool/off)
-
shelves
-
window frames
Vacuuming first removes the fine layer without smearing it.
Step 3: Damp Wipe Walls, Doors, and Skirting Boards
Now bring in warm water and microfibre cloths:
-
wipe walls where sanding or painting happened
-
clean door frames and doors (especially edges)
-
wipe skirting boards thoroughly
If walls have residue or grime, a diluted sugar soap solution can help—always patch test first.
Internal link suggestion:
For a full-home reset after messy work, see our Deep Cleaning Service options.
Step 4: Windows, Tracks, and Frames (The dust trap zone)
This is where renovation dust loves to hide.
Do it in this order:
-
Vacuum tracks and corners with a crevice tool
-
Wipe tracks with a damp cloth (repeat until clean)
-
Clean frames
-
Finish with glass
Pro move: Wrap a damp microfibre cloth around a butter knife (or similar blunt tool) to get into tight track corners.
Step 5: Cupboards, Drawers, and Wardrobes
Even if they were closed, dust can sneak in.
-
Vacuum inside first
-
Then wipe with a damp cloth
-
Don’t forget handles and drawer edges (dust gathers on lips and rails)
Step 6: Bathroom + Kitchen Touchpoints
Renovations often leave fine dust on shiny surfaces, plus grout haze, silicone marks, or paint specks.
Kitchen focus:
-
benchtops and splashback
-
inside cupboards (especially near the renovation zone)
-
appliances exterior
-
sink and taps
Bathroom focus:
-
tiles and grout lines
-
mirrors and tapware
-
shower screens (check for haze)
-
exhaust fan cover
Internal link suggestion:
If you’re moving into a freshly renovated space, you may also like: End of Lease Cleaning for checklist-style coverage.
Step 7: Floors (Two rounds, minimum)
Floors carry the most dust and grit.
Hard floors
-
Vacuum slowly (edges first)
-
Mop with clean water
-
Change water and mop again if it still looks cloudy
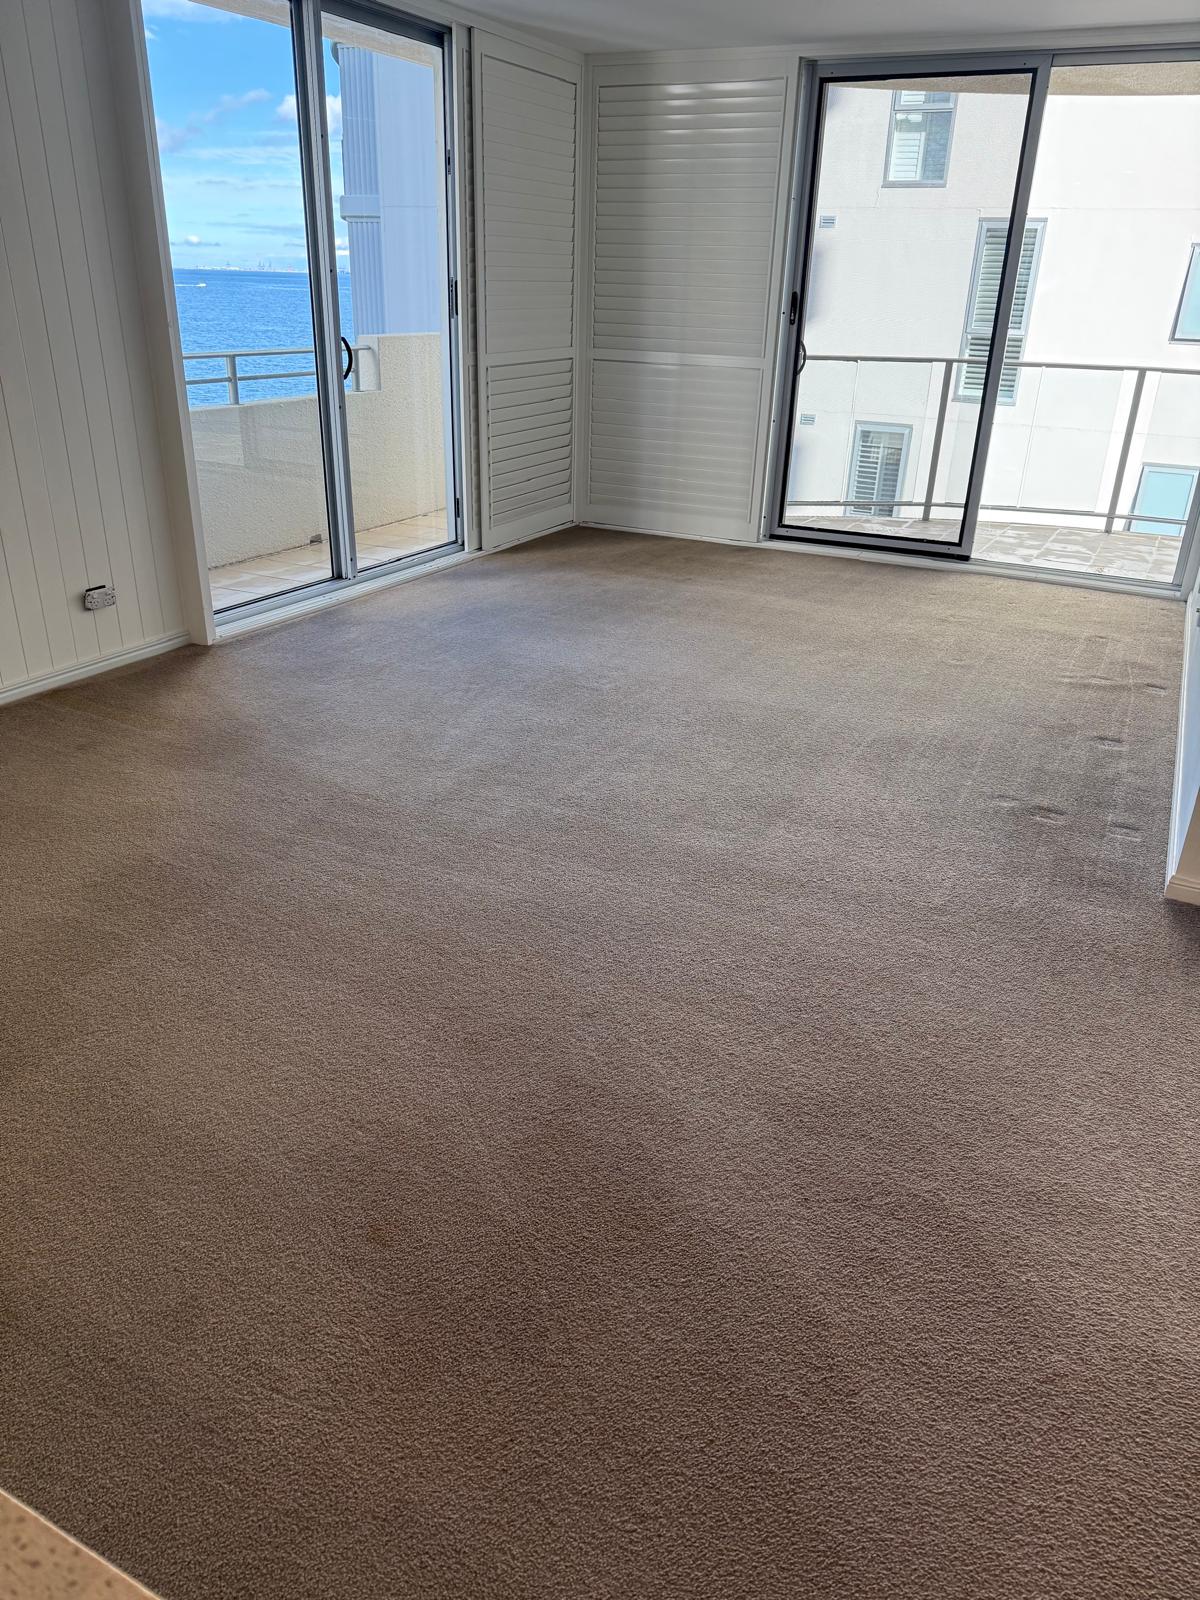
Carpets
-
Vacuum slowly in multiple directions
-
If there’s heavy plaster dust, consider a professional steam clean so it doesn’t settle into fibres
Internal link suggestion:
For fresh carpets after messy work, explore Carpet Cleaning.
Room-by-Room Post-Reno Checklist (Quick Reference)
Living areas / bedrooms
-
☐ Vacuum ceiling corners and fans
-
☐ Wipe walls (especially near sanding/painting)
-
☐ Clean skirting boards + door frames
-
☐ Vacuum and wipe window tracks
-
☐ Wipe wardrobes/drawers
-
☐ Floors: vacuum + mop / vacuum carpets
Kitchen
-
☐ Wipe all surfaces and splashback
-
☐ Clean inside cupboards and drawers
-
☐ Wipe appliances (dust sticks to stainless steel)
-
☐ Clean sink and taps
-
☐ Floors: extra attention around kickboards
Bathrooms
-
☐ Remove dust from vents
-
☐ Wipe tiles and grout lines
-
☐ Clean glass + mirrors
-
☐ Polish taps and fixtures
-
☐ Floors: corners, behind door, around toilet base
How to Handle Common Renovation Messes
Fine plaster dust everywhere
-
Vacuum first, wipe second
-
Change cloths frequently
-
Don’t dry sweep
Paint splatter
-
Use a plastic scraper gently on glass/tiles
-
For small specks, warm soapy water and patience usually wins
Sticky residue (tape, labels)
-
Warm soapy water first
-
If needed, a small amount of adhesive remover on a cloth (test first)
Grout haze on tiles
-
Use a cleaner suitable for tile/grout haze (test first)
-
Avoid harsh acids unless you know the surface can handle it
A Realistic “Don’t Lose Your Mind” Schedule
Option A: One-Day Reset
-
Morning: debris + high vacuum + walls/skirting
-
Afternoon: windows/tracks + cupboards
-
Evening: kitchen/bath touches + floors
Option B: Two-Day Sanity Plan
Day 1: high dust + walls + windows
Day 2: cupboards + kitchens/baths + floors + final polish
When It’s Worth Hiring a Post-Renovation Clean
Consider professional help if:
-
the dust is thick and widespread
-
your home has multiple levels
-
you’ve had sanding, plastering, or cutting indoors
-
you’re short on time and need it move-in ready fast
Internal link suggestion:
We also offer specialised Construction Cleaning / Builders Clean for renovation and new build sites.
Final Thoughts: The Right Order Makes It 10x Easier
Post-renovation cleaning feels overwhelming when you attack it randomly. But when you follow the correct sequence—vacuum high, wipe damp, detail tracks, then floors—it becomes a process you can finish without redoing everything.
If you tell me what kind of renovation you’ve had (kitchen, flooring, painting, sanding, full build) and whether your floors are tile or carpet, I can tailor a personalised post-reno checklist for your job.
