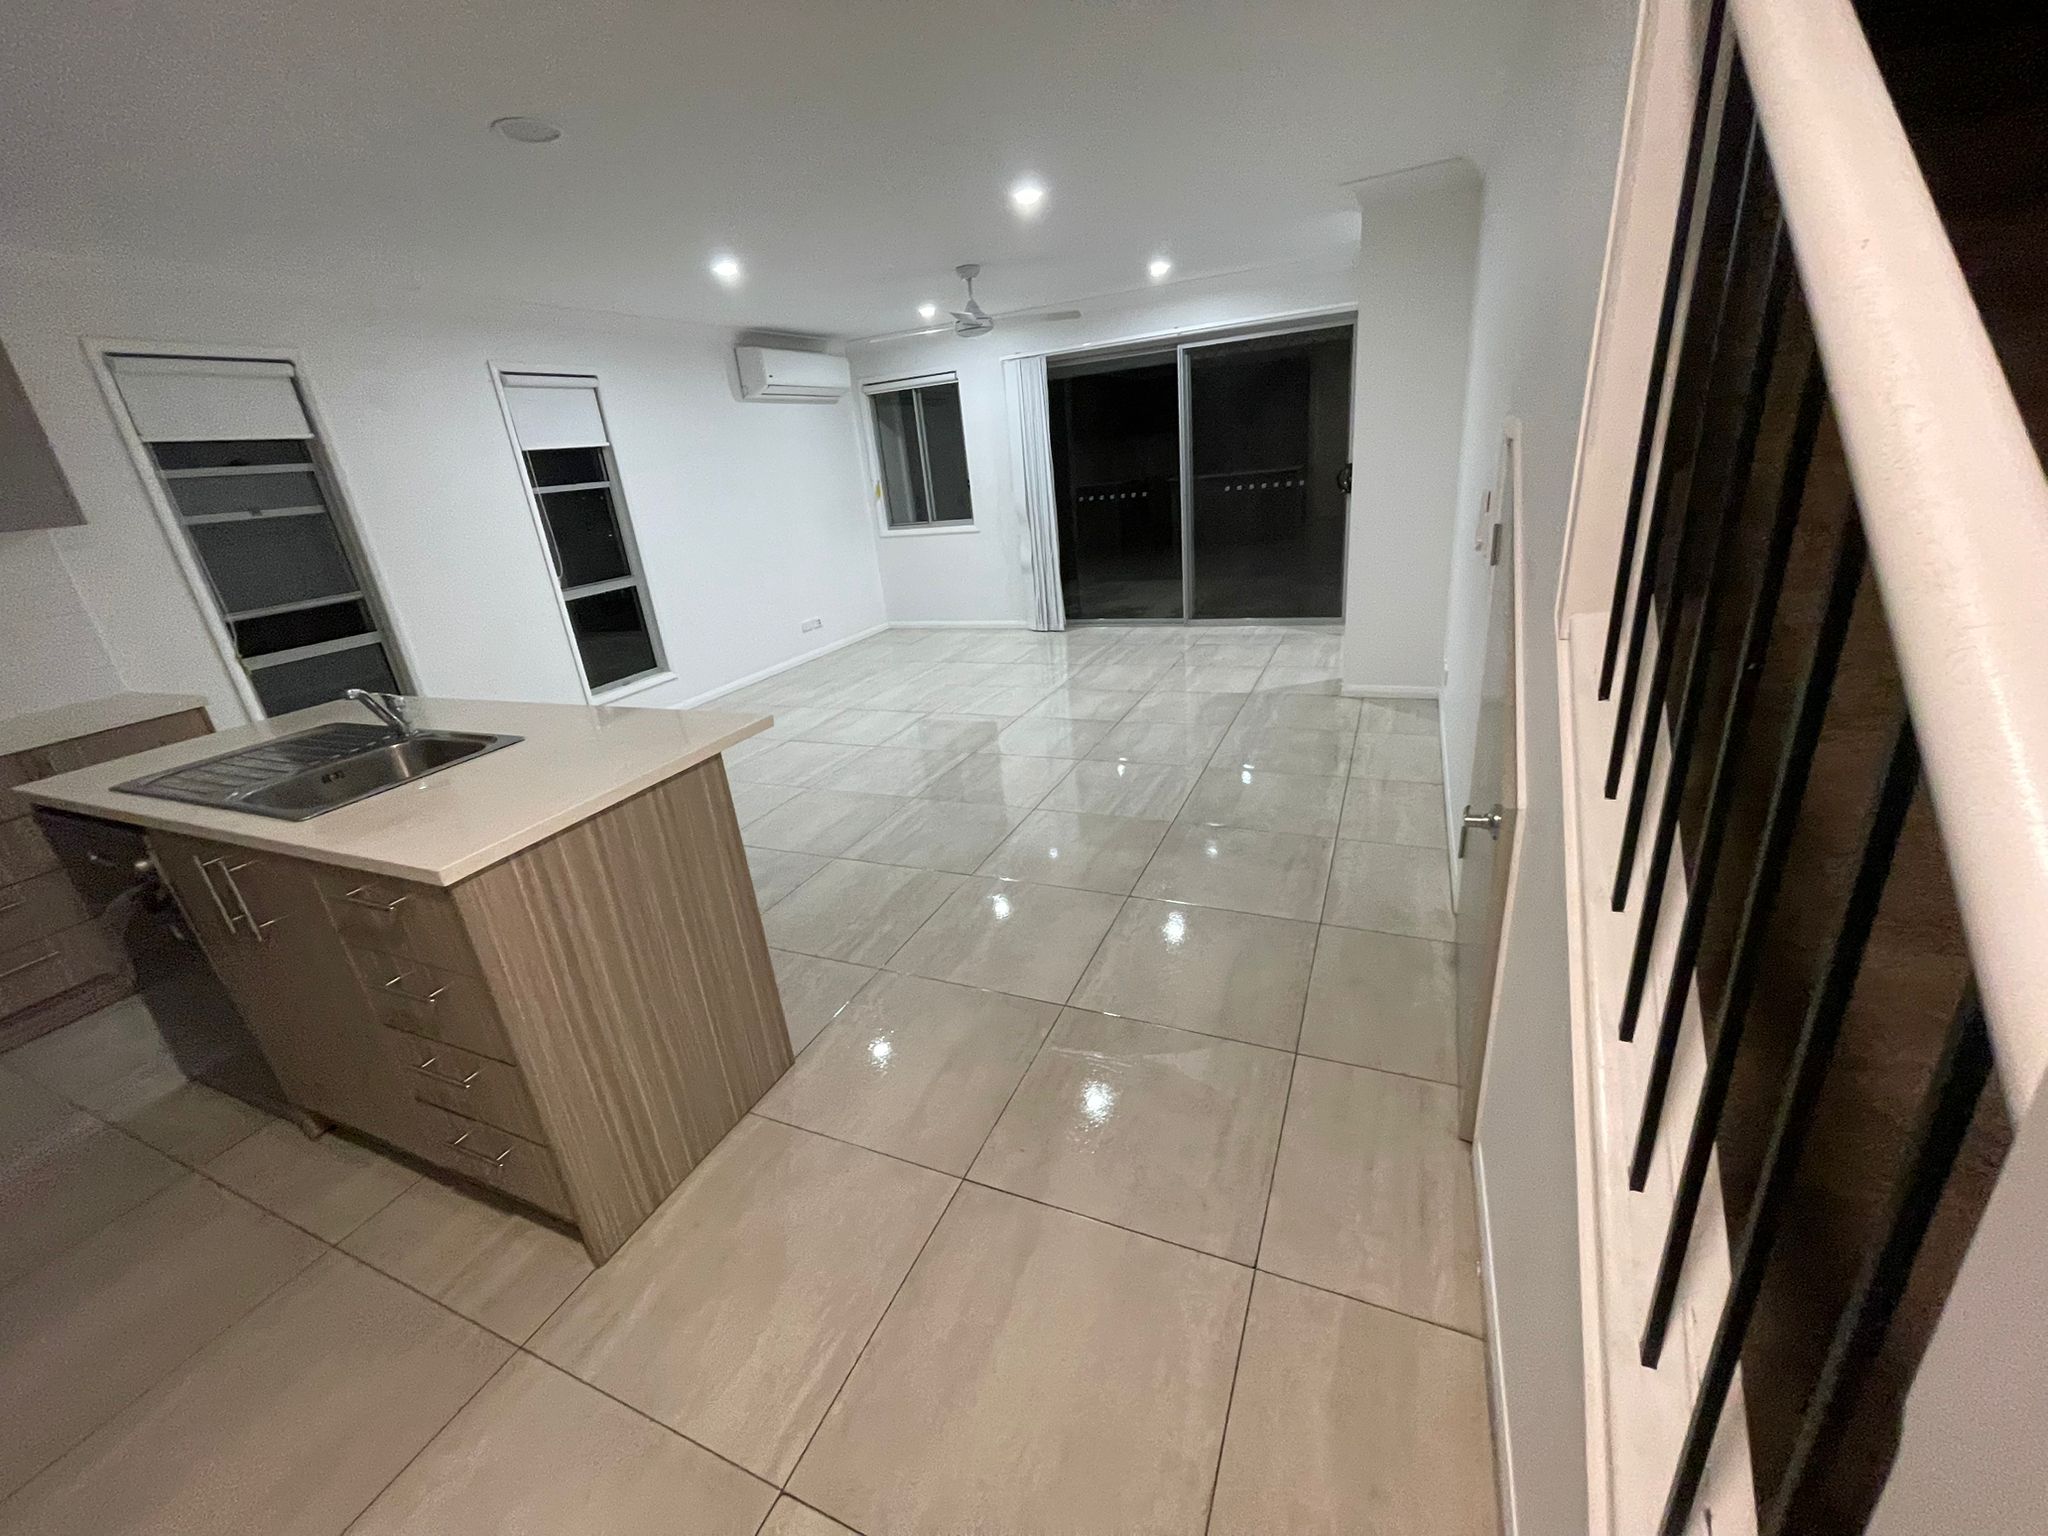
Renovations transform spaces—and leave fine dust everywhere. That dust hides in tracks, vents, and fabrics, and it keeps resettling unless you follow a proper post-renovation cleaning sequence. This guide shows you exactly what to do (and what not to do) so your new finishes stay flawless.
(Internal links to add as you publish: “Builders & Renovation Cleaning” → /services/builders-cleaning, “Deep Cleaning” → /services/deep-cleaning, “Regular Cleaning” → /services/regular-cleaning.)
The Golden Rule: Dry → Detail → Damp (Then Floors Last)
-
Contain & ventilate first
Close doors to finished rooms, open windows where safe, and use box fans to push dust out—not deeper into the home. -
Dry removal before liquids
Start with high dusting and vacuuming so you don’t make mud slurries that stain grout and timber. -
Top-down, left-to-right
Work ceiling to floor and wall to wall so you’re not chasing your tail.
Internal link: “Cleaning Checklist” → /resources/checklists/standard-and-deep-cleaning
Step-by-Step Post-Renovation Cleaning Checklist
1) High Dust & Air
-
Remove plastic sheeting and bag carefully.
-
Dust ceiling corners, beams, cornices, vents, and lights with an extension pole.
-
Replace or clean return-air and rangehood filters.
Tip: Use microfibre heads that trap dust instead of pushing it around.
2) Fixtures & Fittings
-
Wipe switches, sockets, door frames, skirting, window sills, and architraves.
-
Detail hardware (hinges, handles) with a soft brush, then wipe.
-
Clean fans and pendants last in this section to avoid re-fall.
3) Windows, Tracks & Frames
-
Vacuum tracks with a crevice tool first.
-
Loosen debris with a nylon brush; lift out, don’t push into corners.
-
Clean glass (shade side first to reduce streaks); wipe frames and seals.
Internal link: “Add-On Services (Windows/Tracks/Blinds)” →/services/add-ons
4) Kitchens (New Surfaces = Gentle Methods)
-
Remove dust from cabinet interiors before loading dishes.
-
Degrease rangehood baffles and wipe inside the cavity.
-
For stone benchtops, use pH-neutral cleaner—avoid acids.
-
Peel adhesive films; remove residue with a surface-safe citrus/adhesive remover, then neutralise.
Internal link: “Deep Cleaning” →/services/deep-cleaning
5) Bathrooms (Mortar Haze & Grout Care)
-
Vacuum dry dust first; then descale taps and screens.
-
For tile haze, use a grout-safe cleaner (not on natural stone).
-
Detail silicone lines; ventilate to reduce curing odours.
Internal link: “Residential Cleaning” →/services/residential-cleaning
6) Dust-Holding Fabrics & Soft Surfaces
-
Vacuum upholstery, mattresses, and curtains with a clean upholstery head.
-
Launder removable covers; replace HVAC filters after this step.
7) Floors (Always Last)
-
Vacuum edges and corners first (fine dust hides here).
-
Mop hard floors with pH-appropriate cleaner; change water often.
-
For timber, avoid excessive moisture; use well-wrung pads.
-
Consider carpet extraction if trades walked over soft floors.
Adhesive, Paint & Residue Removal (Do/Don’t)
Do:
-
Test solvents in an inconspicuous spot.
-
Use plastic scrapers on glass and metal; single-edge razor only with care.
-
Neutralise surfaces after adhesive removers.
Don’t:
-
Use acidic products on marble, limestone, or terrazzo.
-
Scrub matte paint finishes with abrasive pads.
-
Flood newly laid timber or vinyl.
Internal link: “Builders & Renovation Cleaning” → /services/builders-cleaning
Common Post-Reno Pitfalls (and Fixes)
-
Dust keeps returning: You missed HVAC vents/tracks or skipped the dry step—redo high dusting and filters.
-
Haze on glass: Switch to clean cloths more often; work shaded side first.
-
Streaky stone: You’re using the wrong pH; revert to neutral cleaner.
-
Grout film: Use a grout-safe haze remover; rinse thoroughly.
Safety First
-
Wear PPE: mask, gloves, safety glasses.
-
Keep kids/pets out during vacuuming and solvent use.
-
Ventilate; never mix chemicals; store away from heat sources.
Internal link: “Our Quality Assurance” →/about/quality-assurance
When to Call the Pros (Worth Every Minute)
-
Whole-home dust control with multiple passes
-
Ceiling-height or multi-storey window/track detailing
-
Stone, timber, and specialty finish care
-
Carpet/upholstery extraction and odour control
-
End-of-build handover to meet inspection standards
Internal links:
-
“Builders & Renovation Cleaning” →
/services/builders-cleaning -
“Deep Cleaning” →
/services/deep-cleaning -
“Get a Quote” →
/quote
1-Day Post-Renovation Plan (Printable)
Morning: Contain & ventilate → high dust → vents & lights
Midday: Cabinets & surfaces → windows/tracks → fixtures
Afternoon: Bathrooms detail → fabrics/upholstery → floors finish
FAQs
How long does post-renovation cleaning take?
A typical 3-bed home needs 6–10+ hours depending on dust load and finishes. A trained team shortens this with safer results.
Internal link: “Builders & Renovation Cleaning” → /services/builders-cleaning
Can I use steam on new floors?
Avoid steam on engineered timber or vinyl; it can warp or lift edges.
Internal link: “Eco/Green Cleaning” → /services/green-cleaning
How do I stop dust from resettling?
Follow dry → detail → damp, change cloths often, clean tracks/vents/filters, and finish with floors last.


 Blog
Blog